The serve is arguably the most important stroke in tennis. Every point starts with a serve and being able to gain control of the point right from the start with a strong serve can make a huge difference.
However, the serve is also one of the most technically demanding shots in the game requiring perfect coordination of many different body segments, and therefore it is not easy to master. However, we have simplified the process by presenting you with a detailed and easy to follow explanation of these topics:

HOW TO SERVE in 6 STEPS
#1 – FIND THE RIGHT STANCE & GRIP
You can only hit an effective serve from a solid starting position.
- Stand sideways to the net just behind the baseline.
- Your front foot should point in the direction of the net post.
- Your back foot should align with your front foots heel.
- Your racquet is at hip height in front of the body and pointing in the direction of your target.
- Your left hand is holding the ball and is placed close to the throat of the racquet.

THE CORRECT GRIP FOR THE SERVE


#2 – BALL TOSS AND TAKE THE RACQUET BACK


From the starting position, you will drop both arms, separate them as they reach your front leg’s inner thigh and toss the ball while taking your racquet up to a throwing position.
Release the ball just as the hand reaches the top of the head.
Make sure you shift your weight forward as you toss. Shifting it backward will cause you to toss the ball behind you.
There are other slightly different ways to start your service motion, but all of them have the same goal – to toss the ball to the right spot and to get your body into a throwing position from where you can explode to hit the ball. This throwing position is commonly known as the trophy pose.
This video explains this phase in more detail.
#3 - Reach the Trophy Pose


As you feel more comfortable you will push the hip forward and shifts your body weight to the front foot. Advanced players will stretch their bodies like a bow. Your tossing arm will point up straight at the ball, your left shoulder is well above your right shoulder. The ball (out of the picture) has reached its highest point. At this point, you look like you are going to throw the racquet up to the sky.
#4 – JUMP & SWING


#5 – MAKE CONTACT WITH THE BALL


the new courseThe Serve that you Always Wanted.
BY EDGAR GIFFENIGIf you are ready to take your serve to the next level check out our course: The Serve that you Always Wanted. The COVID-19 price is $79 (instead of $149)
#6 – FOLLOW THROUGH & LAND

With advanced players, as the ball leaves the racquet the forearm continues turning (pronation). The hip and the upper body rotate and face forward.
The racquet head moves ahead of the hand so that the tip of the racquet is pointing to the ground while the elbow is still almost at shoulder height demonstrating that the racquet head is traveling faster than the arm.
The racquet will continue swinging towards the left side of the body to decelerate slowly. The tossing arm stays close to the body to stabilize the trunk.

The player lands on the front leg while the back leg remains high (Horsekick) to stabilize the body. The racquet finishes the swing loosely on the left side of the body.

If you are a beginner and not yet comfortable jumping, focus on pivoting as you swing so that you finish your serve with your back heel off the ground and your body facing forward.
HOW TO FIND THE RIGHT SERVE GRIP: THE CONTINENTAL GRIP
How to Get a Consistent Serve Ball Toss
Having a consistent serve is only possible with a consistent toss. There are a few mistakes that people make with the toss.
Some players flick their wrist or bend their elbow when they toss. Make sure to keep your elbow straight and toss from your shoulder.
Another common mistake is that people let the ball roll off of their hand. Make sure you keep the ball on the tips of your fingers so the ball does not rotate in the air.
Choosing the Right Stance for Your Serve
There are two main types of stances for the serve.
- The platform stance: With this stance, you’re feet do not move. Novak Djokovic and Roger Federer use this stance.
- The pinpoint stance: In this stance, you move your back foot forward next to your front foot. Players like John Isner and Serena Williams use the pinpoint stance.
Different Types of Serves in Tennis
We’ll compare all 3 types of serves in the video below.
There are 3 primary types of serves you’ll see in tennis.
- Flat Serve: This is usually a power serve that has no spin.
- Slice Serve: This spin serve moves sideways from right to left (for right-handed players). It is commonly used on the deuce side to move your opponent off of the court.
- Kick Serve: This is an advanced serve that makes the ball kick up high. Players often use this as a 2nd serve since the ball dips down into the box which helps with consistency.
Read our full lesson on how to hit a kick serve & slice serve.
SAVE $300 WITH THIS COVID-19 DISCOUNT
Take advantage of this incredible opportunity today! For a limited time you can have Lifetime access to our Education Library, containing more than 1500 clips for only $99, a 75 percent discount.
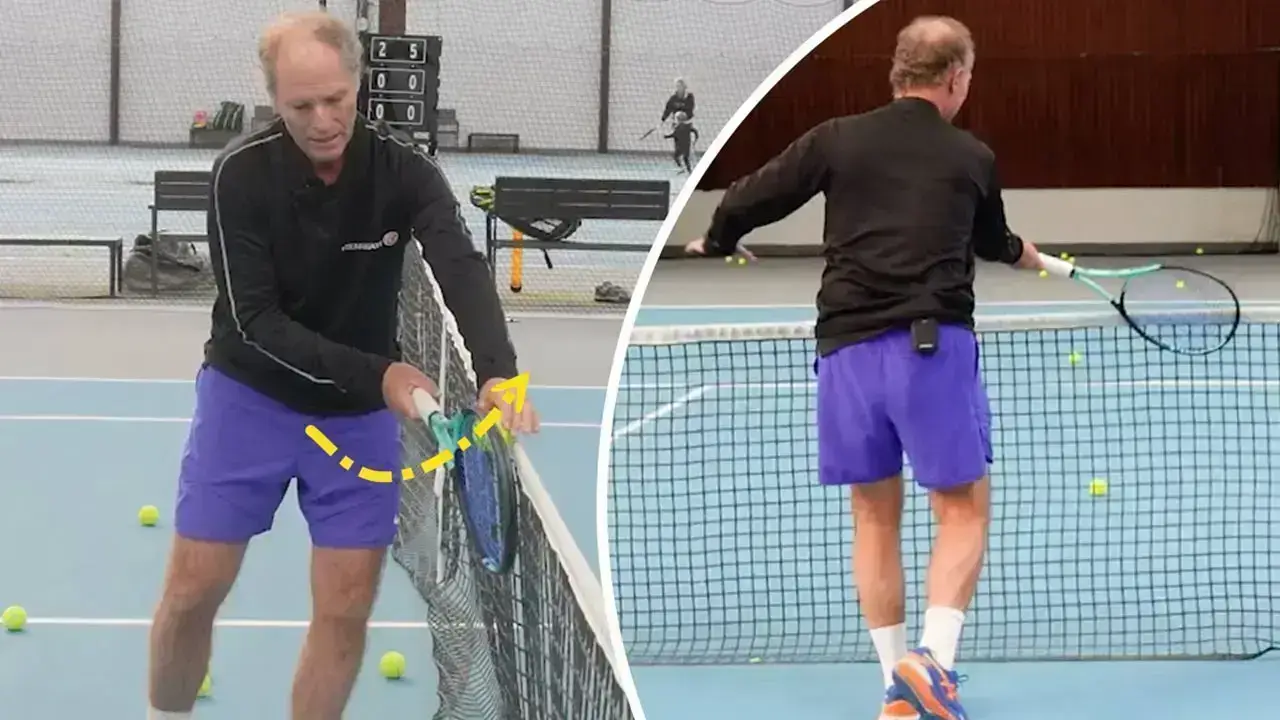
The Best Serve Drills for the Practice Court
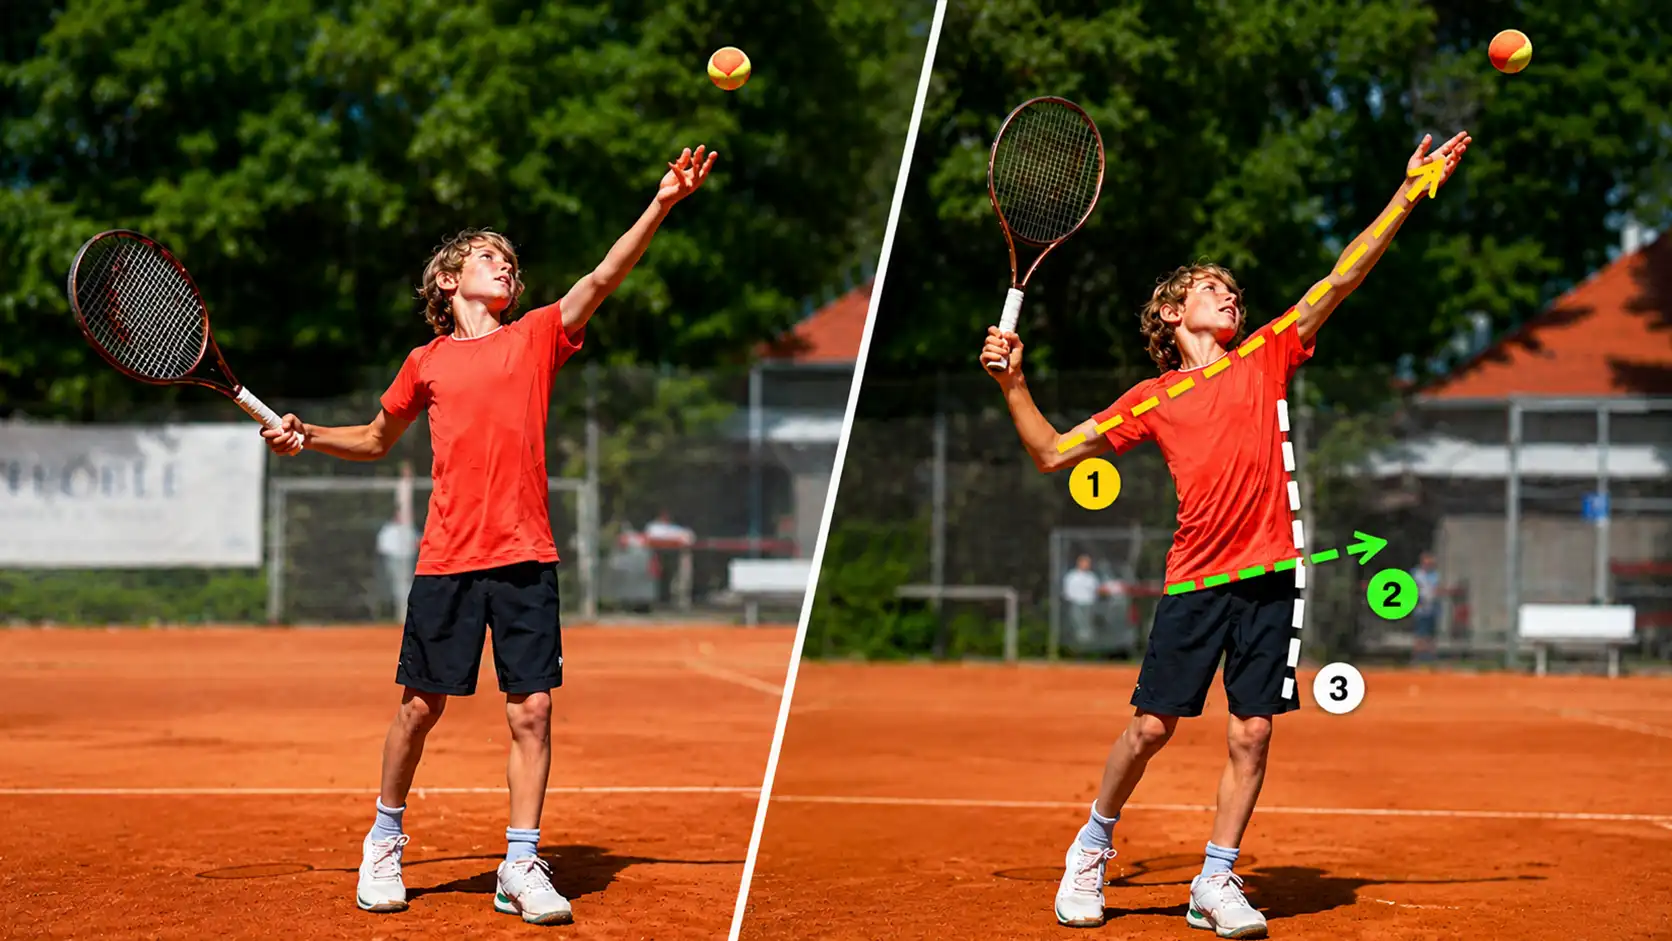
It’s important to practice your serve outside of match play. Here are a few drills you can use to practice and improve your serve.
Beginner Serve Drills
These 3 drills will help beginners develop a correct serving motion with good technique from the beginning.
Throwing Drills
These drills will teach you to serve by using the proper throwing motion. Players who are new to tennis should practice this often to get the muscle memory down for the serve.
The Figure-8 Drill
This "figure 8" drill will help you develop a fluid and effortless serving motion. This is very important for beginners because many coaches don't teach a fluid motion on the serve.
Learning the Continental Serve Grip
This video explains a few key tips for serving with a continental grip.
Intermediate and Advanced Serve Drills
An easy drill for more skilled tennis players to improve their serve is to set up targets in different areas of the service box.
Increase Spin on Your Serves
This simple drill will help you use your wrist more on your slice and kick serves. Do this to warm up your wrist, then practice your spin serves.
Learning Disguise the Serve
This serve drill will help advanced players be able to hit different serves from the same ball toss.
The coach should stand behind the player and yell the location (T, Body, Wide) after the player tosses the ball. Then, the player must serve to that location.
Medicine Ball Throws
This drill will help increase your serve power.
The player will alternate throwing a small medicine ball one-handed with a service-like motion. The idea is to work on accelerating the arms and then transferring this motion to the serve.
The player should throw 5 times as fast as possible and then serve 5 times at maximum speed. The whole process should be repeated 5 times.
Perfect Your Serve Technique, Frame By Frame
Here is another great example of a bird's-eye view analysis proper serve technique.
This serve is flat as you will see by the rotation of the forearm to and through contact. Additionally, from this angle, you get a very clear view of the frontal body curve that results when the player thrusts his hips forwards to reach the “power position”.
You can video your own serve and compare to make sure you get in each of these positions during your service motion.